This lesson will give a quick tour around the Integrated Development Environment, or IDE.
Start a New Project
Run the Visual Basic software. A window (see picture below) will appear.
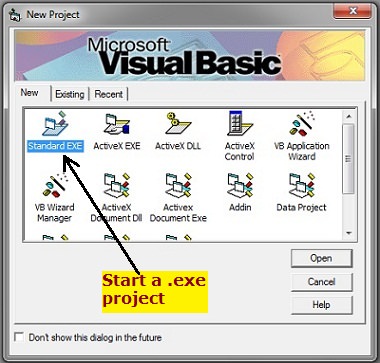
Click “Standard EXE”. You can start a standard .exe type of project. In the beginner level, you will only learn about this type of project.
Other project types on this window are for the advanced learners.
The Integrated Development Environment
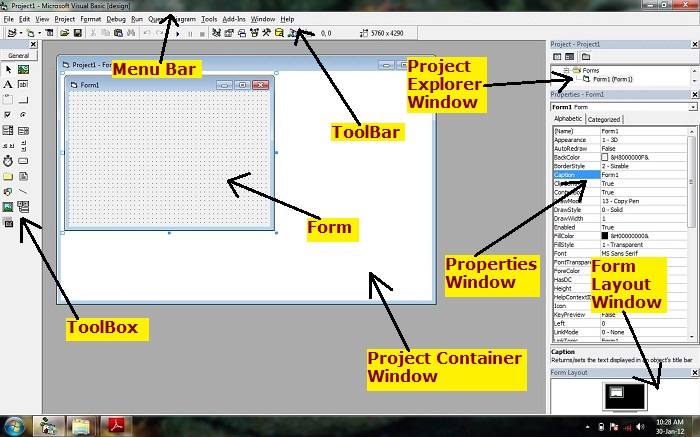
After this, the main workspace appears where you will develop your application with the tools in IDE (Integrated Development Environment).
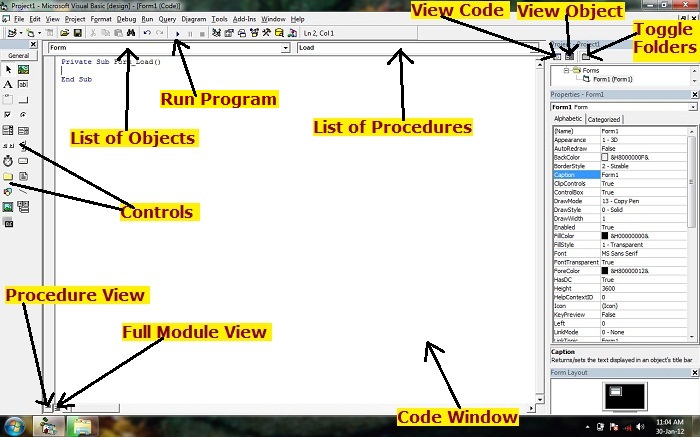
View Code Window
Double-click on form or any control on the form or click “view code” icon in explorer window to view the code window.
Save your project
After developing your application, save your project in order to modify or improve it later.
The project, form and module are saved in .vbp, .frm and .bas extensions respectively.
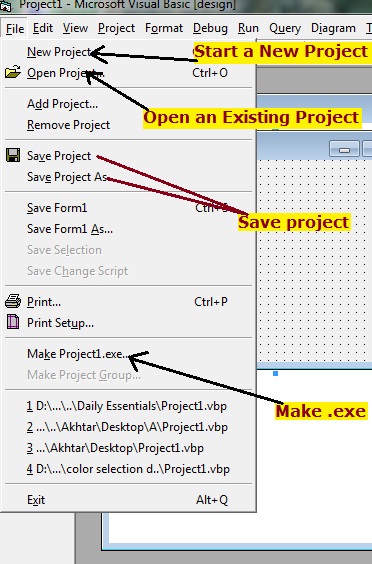
If you click on “Make Project1.exe”, it will make an executable file that will run like any other software.
The Tool Bar
The Tool Bar contains all the tools such as Open, Save, Copy, Cut, Start( to run a program) and so on.
The Tool Box
Tool Box that contains the visual basic controls. You can also add other ActiveX controls to enhance your program.
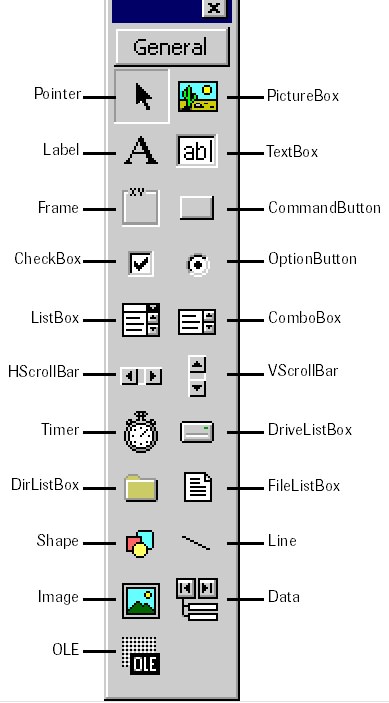
Placing controls on the form
Select a control from Toolbox, click on form and drag until you have got the shape of the control you want.
Alternatively, you may double-click any control to add to form.
After adding a control to the form, u need to set its property and then write code for the control to work how you want.
QuickHint:
There are two ways you can set the value of a property:
- You can set property in Design Time from the Properties Window.
- Or, you may wish to set property at run time by writing code.
Writing the Code for a Control
Simply double-click the control (which is on the form) to view the code window and write code to specify how this control will work.
QuickHint:
- Pointer is not a control. Click this icon to select controls already on the form.
- All controls are objects
- Form is an object, but it is not a control.
The Properties Window
From properties window, we can set properties for controls.
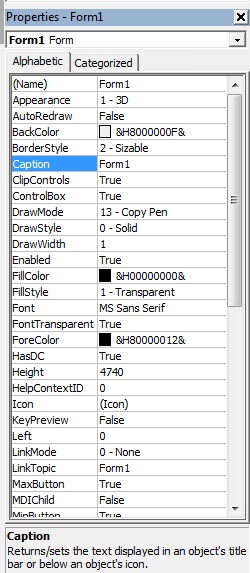
‘Caption’ is the property of the Form object. ‘Form1’ is the value of the property.
In the same way, ‘Appearance’ is the property. ‘1-3D’ is the value.
In the Properties Window, notice the help information about the object. This helps in learning new properties. (See Picture) Help information for the ‘Caption’ property is shown.
The Project Explorer Window
Press Ctrl+R if this window is not showing.
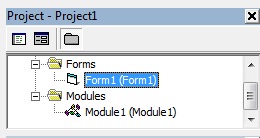
The Project Explorer Window gives you a view of the modules or forms which are contained in your VB application. You can switch from one form to another or from one module to another from the Project Explorer Window. You can view the code window of a particular form or module as well.
The Code Window
We need the Code Window to write code that will specify the behavior of the forms and the objects. Remember that the Form is an object.
The Form Layout Window
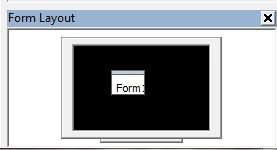
The Form Layout Window shows where on the screen the form will be displayed when the program will be executed. Simply drag on it so that the form appears on the position where you want.
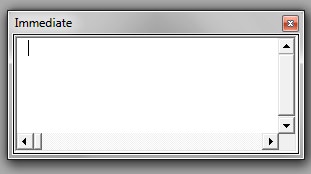
The Immediate Window
Press Ctrl+G to show the Immediate Window.
The Immediate Window allows to enter a command. When you have stopped a program, you can use these commands to display the current value of variables or expressions.
The Object Browser
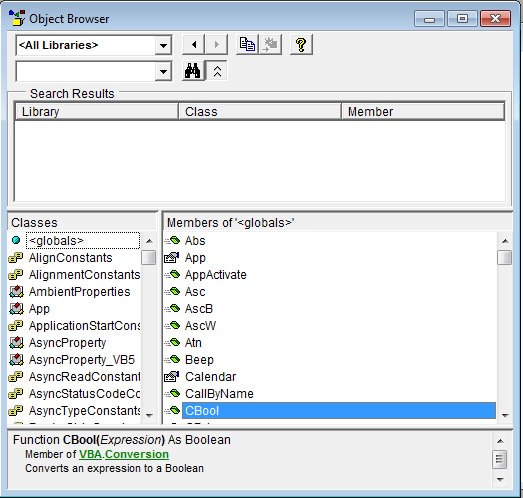
Press F2 to show the Object Browser Window. Object Browser is very useful because you can learn about all the methods, functions, properties and events of the objects. If you find any property, method, event or function unknown, simply search it in the object browser.
The Locals Window
The Locals Window becomes active when a program is running. It shows the values of variables that are local to a module or procedure.
The Call Stack Window
It is a useful debugging tool. It comes when you break the program execution and press Ctrl+L.
